Back to: Hardware
2025 sees the introduction of Intel Core Ultra processors using socket 1851
Intel® Core™ Ultra processors feature 3D performance hybrid architecture, combining two core microarchitectures on a single processor chip. Each core type is purpose-built for specific kinds of tasks, leading to supercharged performance paired with a battery that lasts.
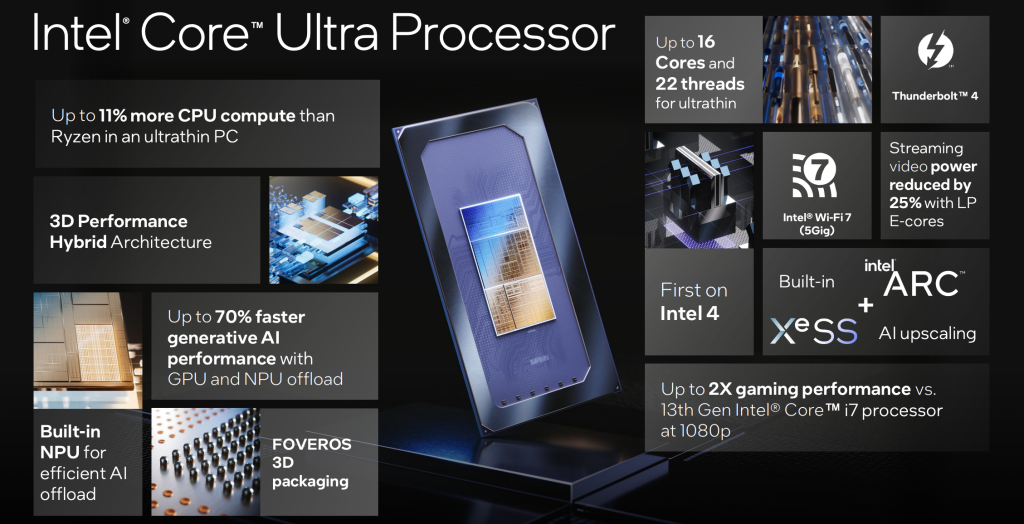
This 2025 PC build
Our first look at this new Intel core ultra hardware – we’ll be using:
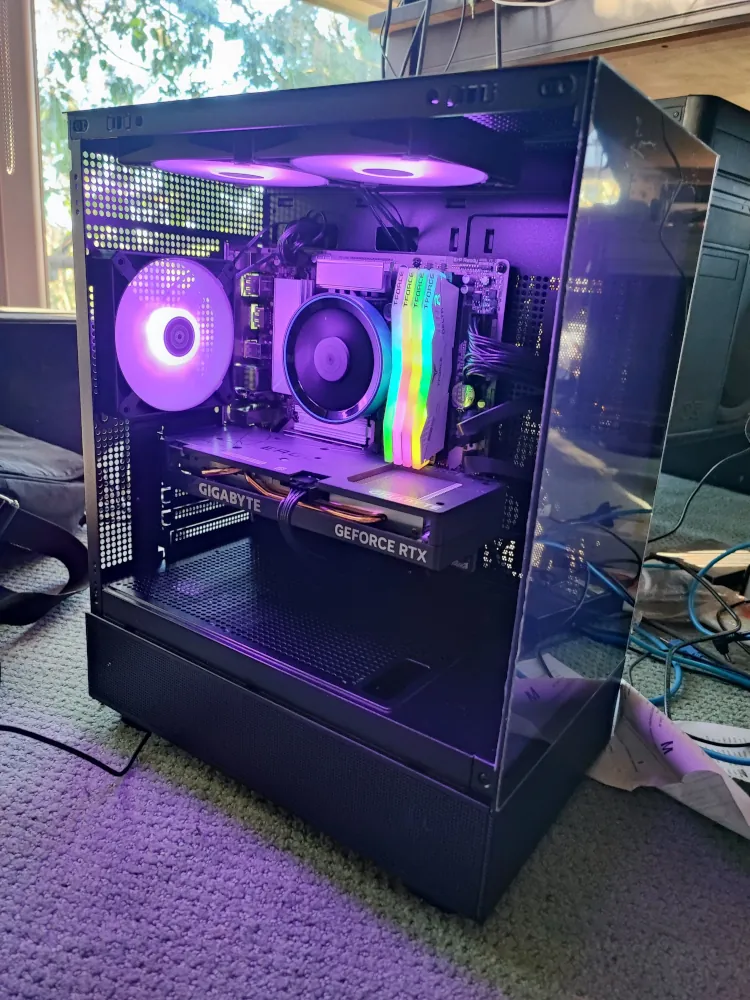
| CPU: Intel Core Ultra 7 265 Processor 20 cores, 20 threads 5.3GHz – a 15th Generation processor Motherboard: Gigabyte B860M DS3H WiFi micro-ATX RAM: Team T-Force Delta DDR5 6000MHz CL38 (4 x 16Gb sticks) SSD: Samsung 990 PRO 2Tb PCIe Gen4 M.2 NVMe (for OS and software) – this fits on the motherboard SSD: Samsung 870 EVO 2.5in SATA SSD 4Tb internal (for extra storage) – this is a cable connected drive Graphics Card: Gigabyte GeForce RTX 4060 EAGLE OC 8G GDDR6 Case: SilverStone LD04 Tempered Glass ARGB mATX Tower Power Supply: SilverStone TR850R-GF 850W 80+ Gold ATX 3.1 & PCIe 5.1 Power Supply | $660 $250 $310 $330 $470 $560 $110 $145 |

Where to begin?
When building your own PC or gaming rig, you need to ensure that all of the components are compatible with each other. Each new generation of CPUs typically has a specific type of motherboard that supports it. There may be some dual compatible crossover though. In 2024, many motherboards were able to run DDR4 RAM and others supported the newer DDR5 RAM. If you were not paying attention, you might end up with a motherboard that doesn’t support your memory.
In a PC build, once the motherboard is in the case, things get tight, so I prefer to build as much of the PC outside of the case as I can. First we unbox the motherboard and put the CPU in.

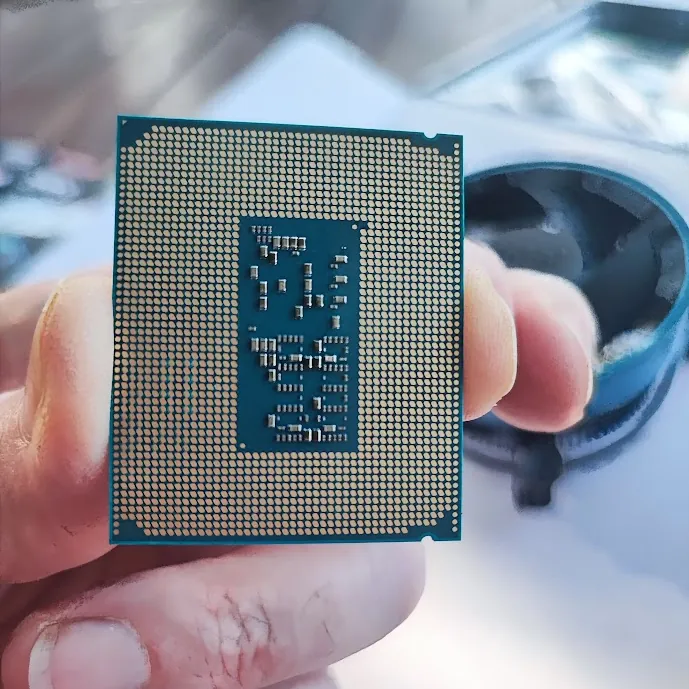
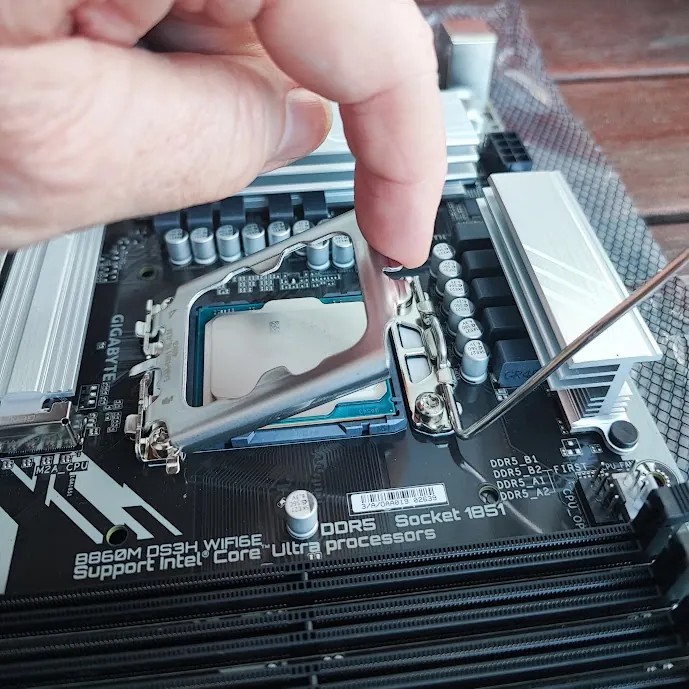
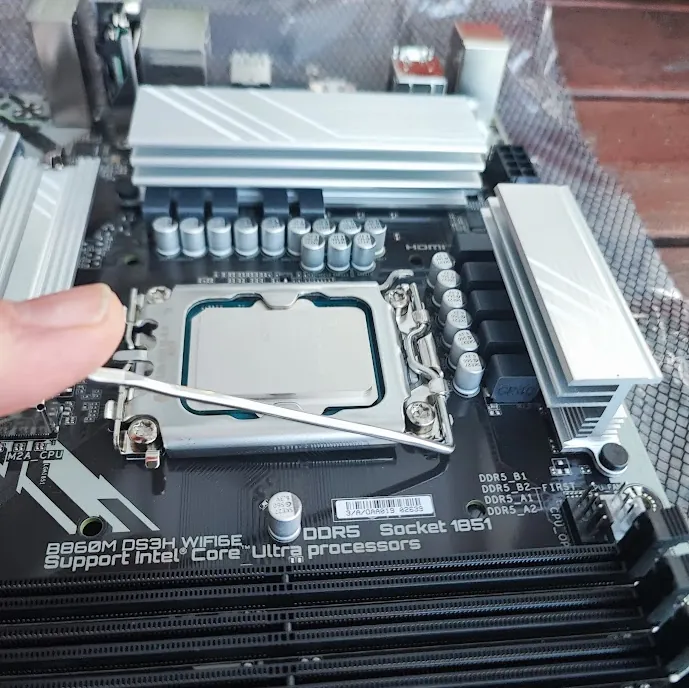
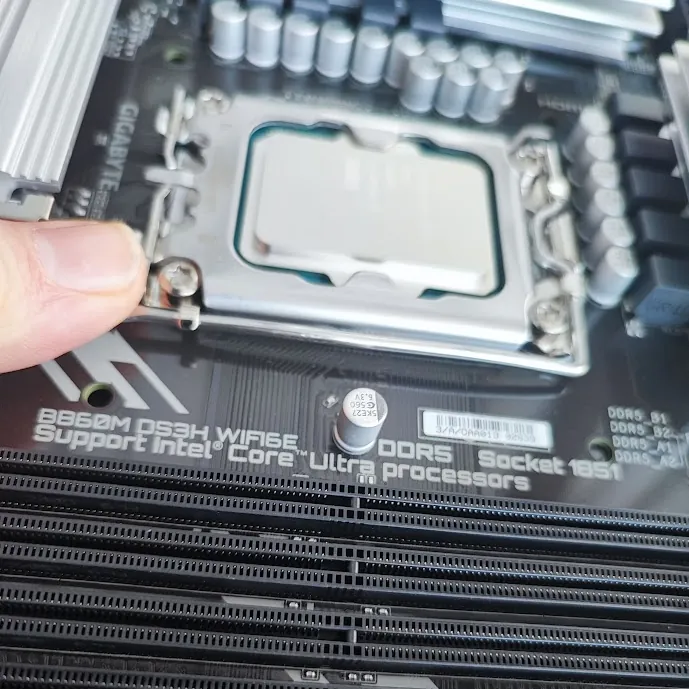
Push down on the CPU socket lever and unhook to lift the clamp cover and then remove the black plastic pin protector.
CRITICAL STEP: Gently lower the CPU into the socket ensuring you have the orientation correct by aligning the two notches in the CPU. You DO NOT want to drop the CPU or bend any pins on the motherboard.


Carefully lower the clamp over the CPU and lock everything in place with the locking lever.
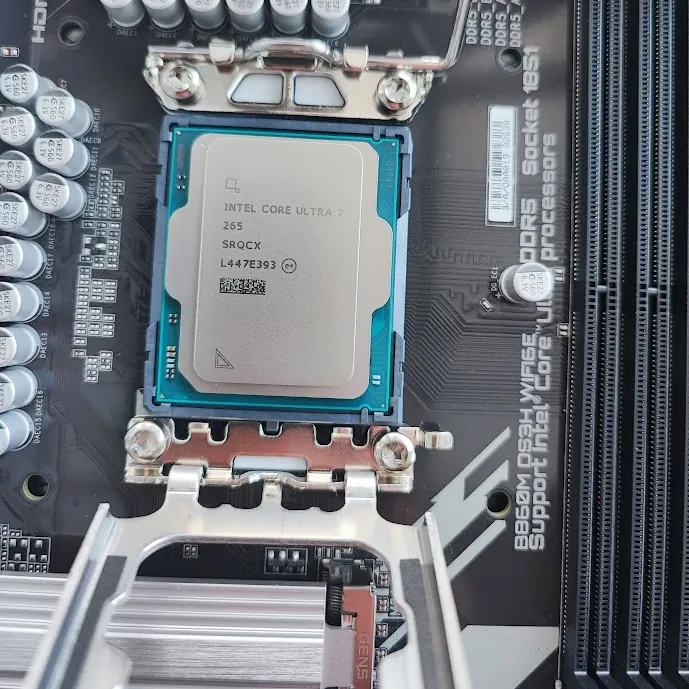
Install the CPU fan
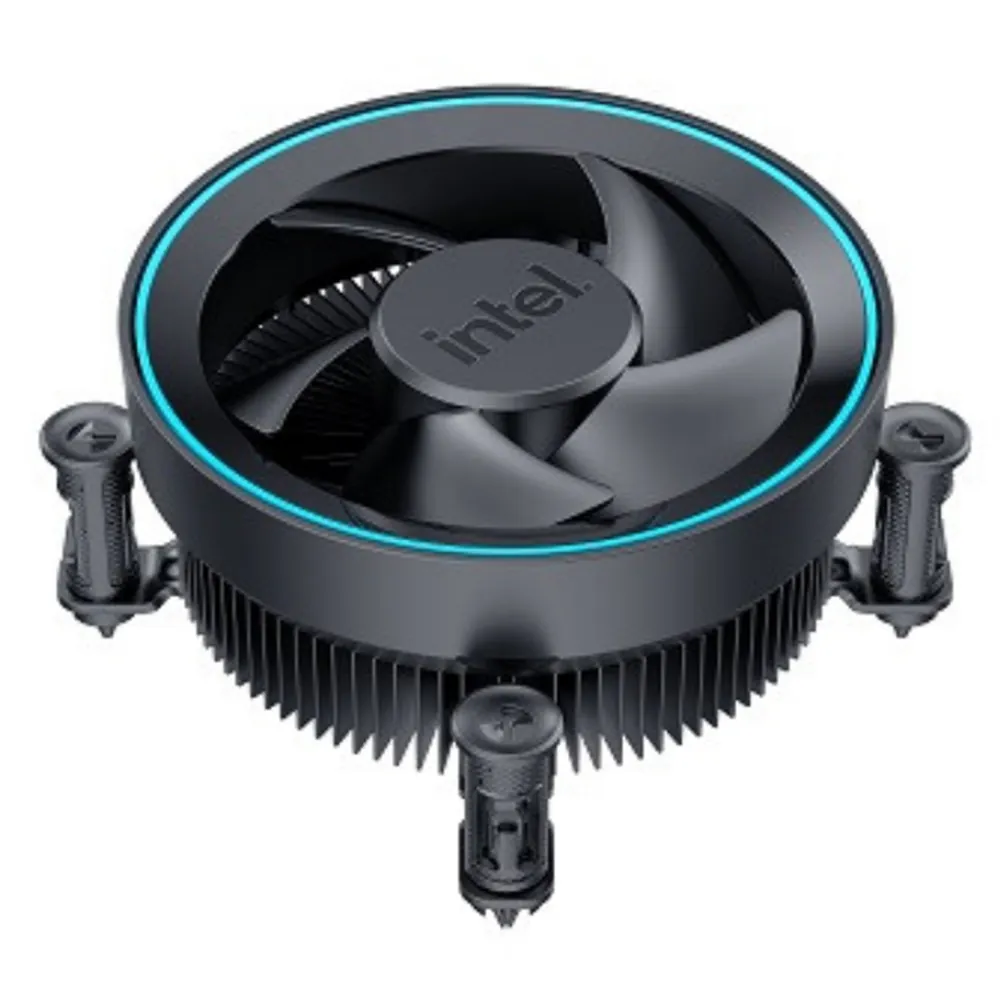
Installing the fan is precisely the same as the last 10 generations of CPU fan – the pegs should all be in the right place “out of the box”, but as a precaution, try to rotate each peg clockwise before aligning them to the motherboard and pressing the them in. The fan is removed by turning the pegs counterclockwise.
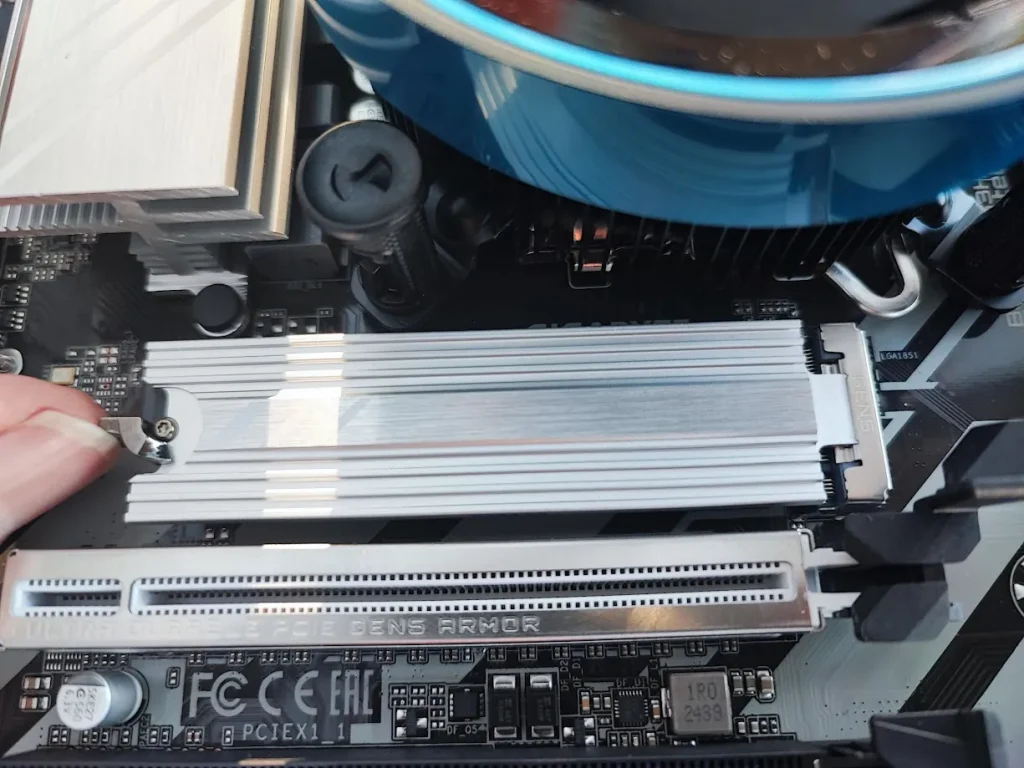
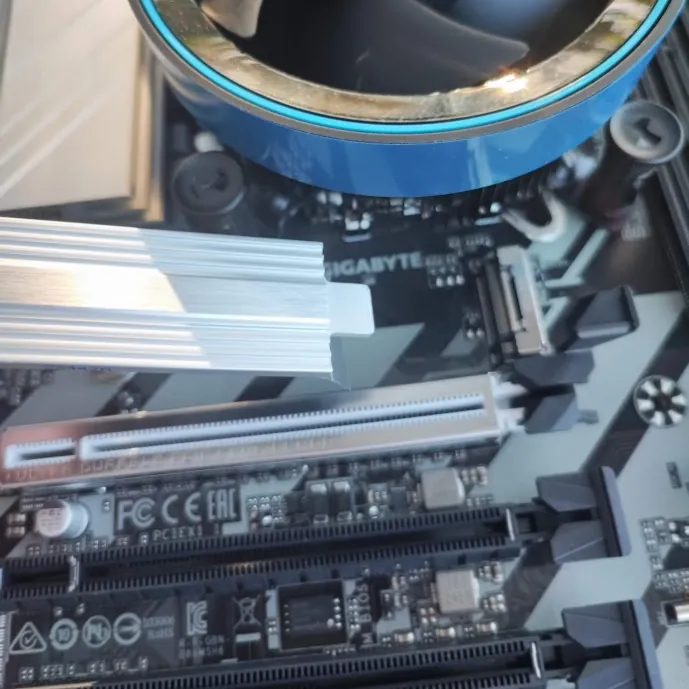
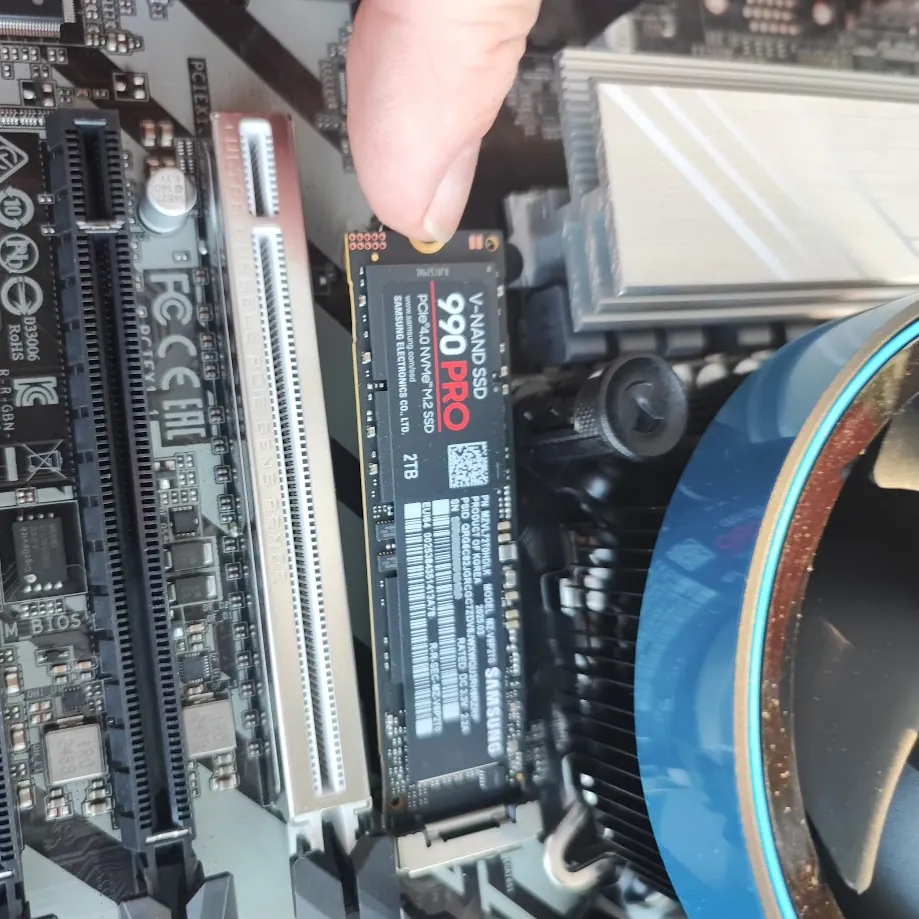
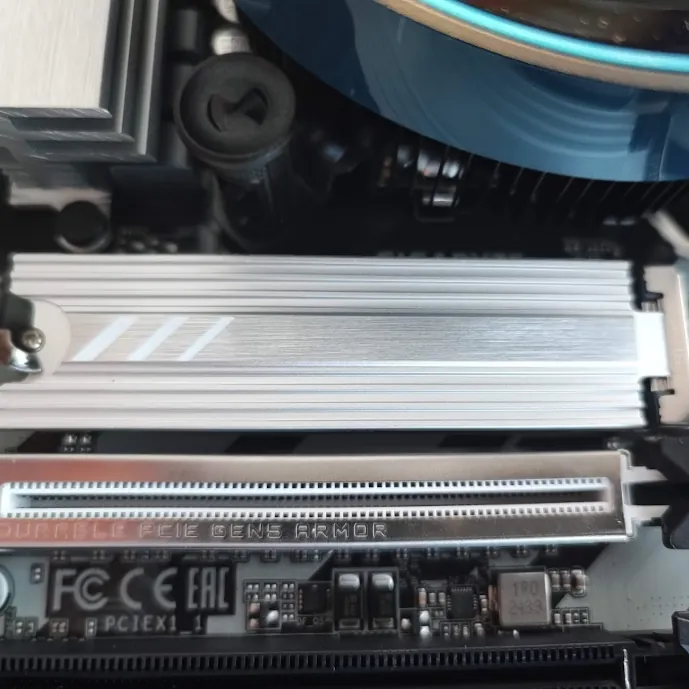
Insert the Solid State Drive – SSD (which replaces the Hard Disk Drive – HDD)
Different motherboards will place the M.2 SSD slot in a variety of places. On this motherboard the SSD slot is quite close to the CPU, so instead of putting the CPU fan in place, it will be easier to install the SSD first. Having said this, I actually put the CPU fan on first, then mildly regretted it.
The Samsung 990 PRO is pretty much the fastest we can buy featuring sequential read and write speeds of up to 7,450/6,900MB/s. Compare this with a high quality Seagate 2Tb 7200rpm hard drive which has read and write speeds of around 100-150MB/s. In 2025, we mostly use hard disk drives for large capacity archiving.




Installation of the memory
Some motherboards support 2 sticks or memory whist others support 4. While not always mandatory, using memory (RAM) modules in pairs (especially matched pairs) is generally recommended for optimal performance and compatibility, especially in computers that support dual-channel memory (like this system).
Many modern computers support dual-channel memory, which allows the system to access memory data from two channels simultaneously, resulting in faster data transfer and improved overall performance.
For dual-channel memory to function optimally, it’s best to use a matched pair of RAM modules. These modules should have the same capacity, speed, and timings.
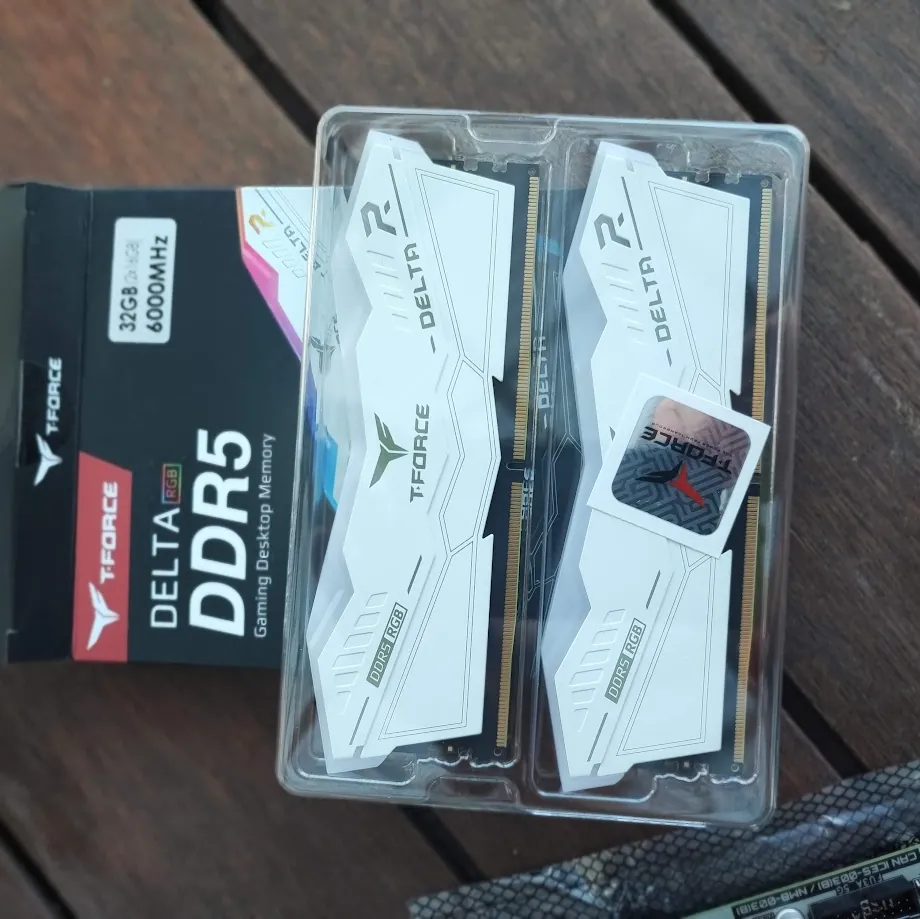
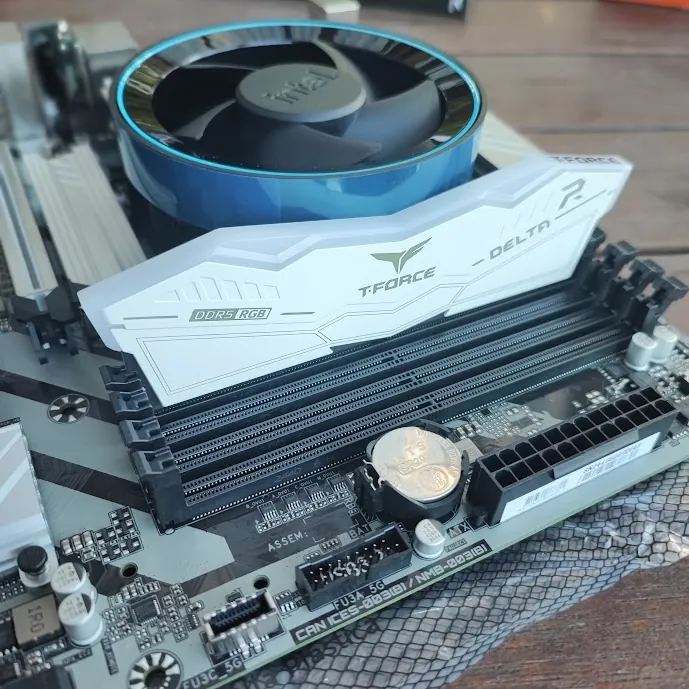
In this system we are add 64Gb or RAM using 4 sticks of 16Gb DDR5 6000MHz memory modules. This means we’ll be filling ALL of the available slots. If we were only using 32Gb and using 2 slots, we need to determine which two slots to use. This information is generally found stenciled onto the motherboard near the memory slots.

DDR5 memory is installed in the same manner as DDR4 was – prepare the slots by opening the tabs on either side of the memory slots (on the motherboard), align the memory stick so the notch lines up and press firmly on top at the ends of the memory. Press hard enough for the tabs to click into place by themselves.

The case and power supply
Cases in 2025 typically don’t come with a power supply. You need to choose one powerful enough for your hardware. You can pay a lot of money for a good power supply, but it you are spending around $120-130 you are going to be powering most configurations comfortably.
As you spend more, your power supply becomes modular, so you only use the cables required for the build, reducing clutter. My preference, having used both modular and hard cabled, is because modular cables are kept in a bag and not in the PC, when you need one, you can’t find the bag. A hard cabled power supply has some unused wires to hide in the back, but when you need one – at least it’s there!

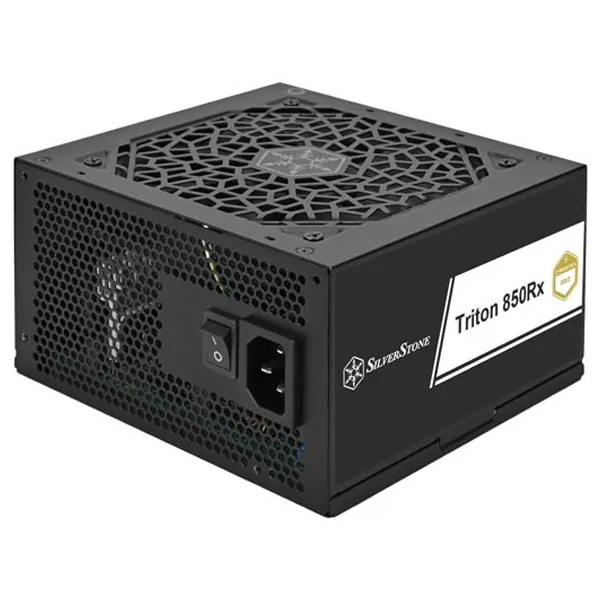
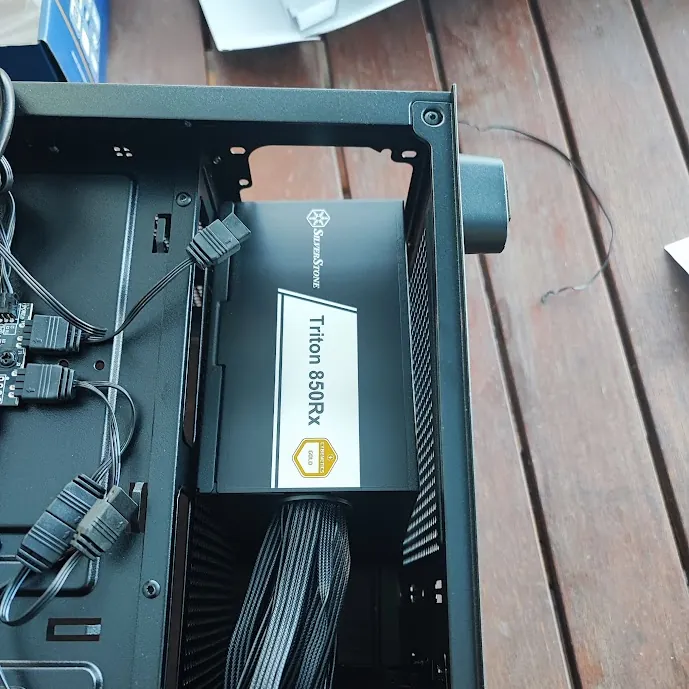
When installing the power supply into the case, one side of the power supply has a fan that you’ll want to face toward the case vents. On this build, the vents are on the bottom of the chassis.

Time to put the motherboard into the chassis
Before putting the motherboard into the case, you must first put the motherboard backplate into position. The backplate will be in the motherboard box. You will also need to look at the mounting posts on the floor of the case and ensure there are enough for ALL of the fixing points supported by your motherboard. If there are NOT enough, you need to add more posts. The case will come with a bag of screws and fixings, you should find everything necessary in the bag.
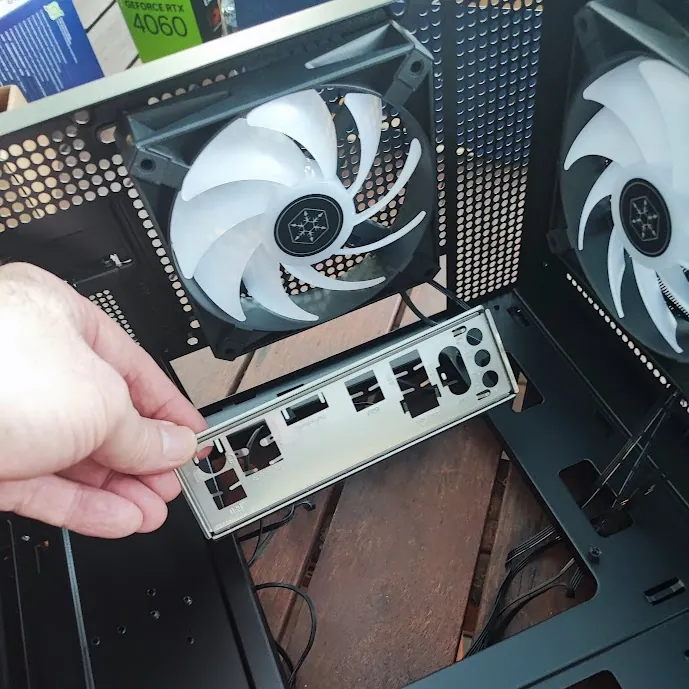
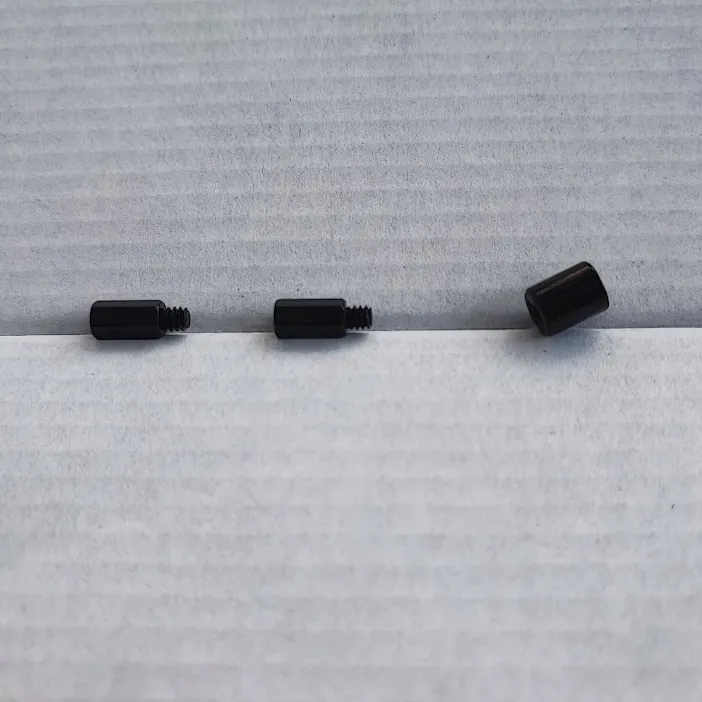

Now we can fit the motherboard to the chassis:

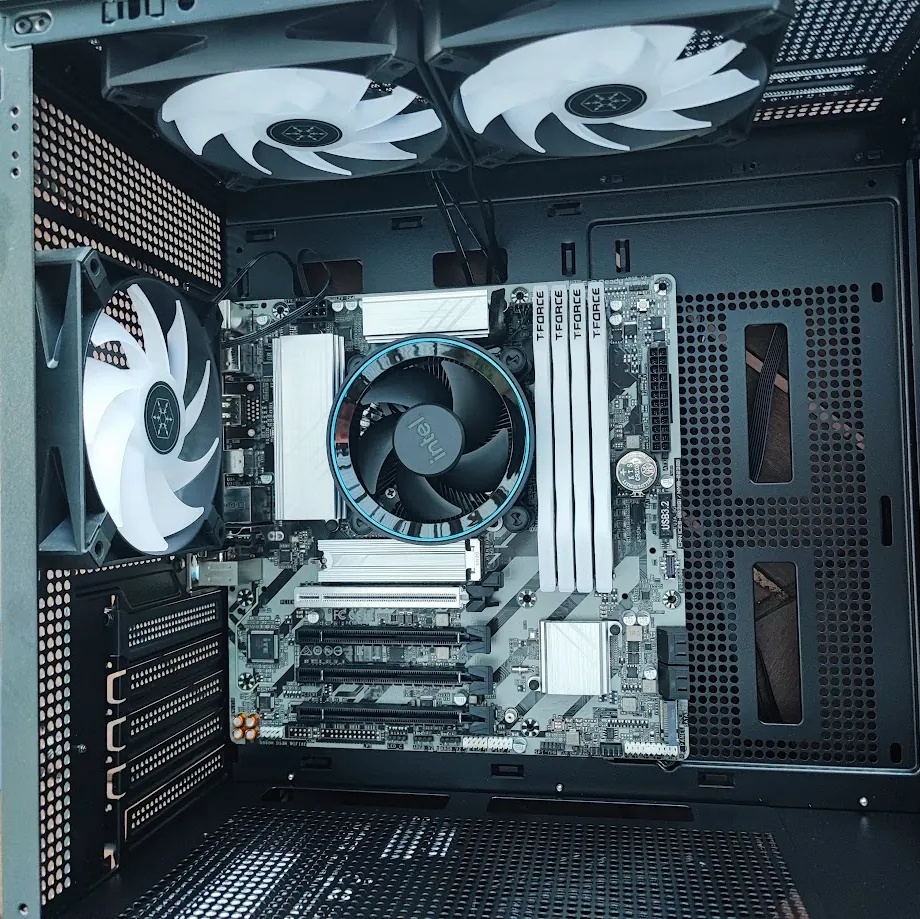

Attaching the cables
Nothing has changed here except there may be a front USB-C cable to connect:
- CPU power (not CPU fan – this is already in)
- Motherboard power
- SATA device power (the 2.5″ SSD)
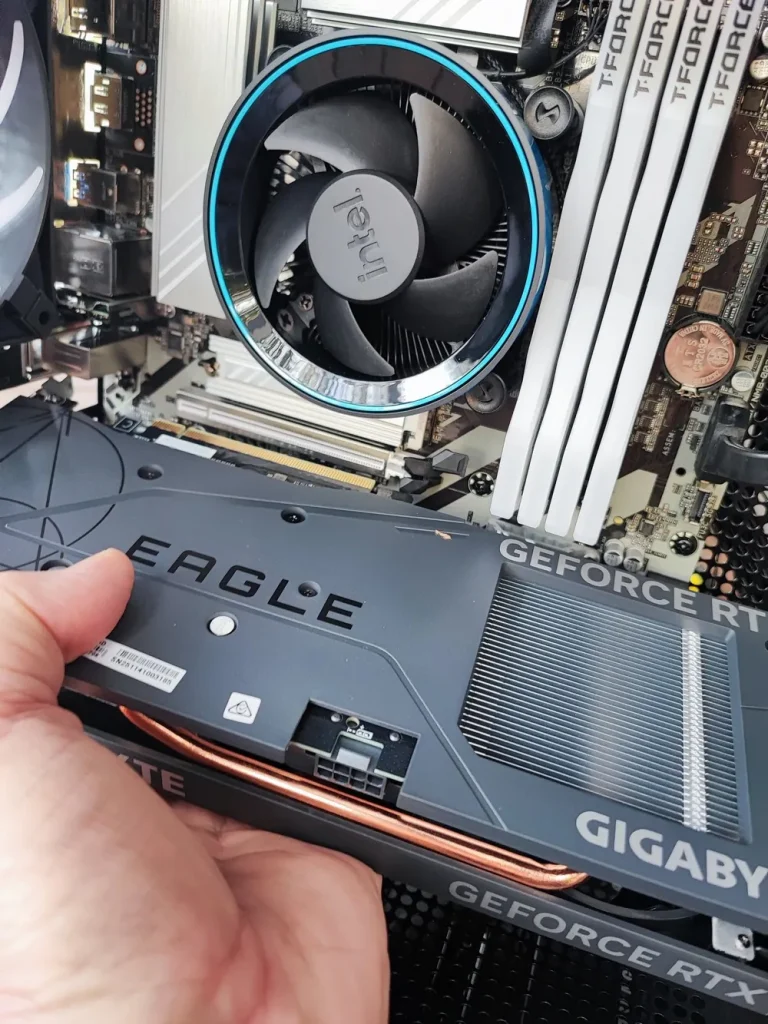
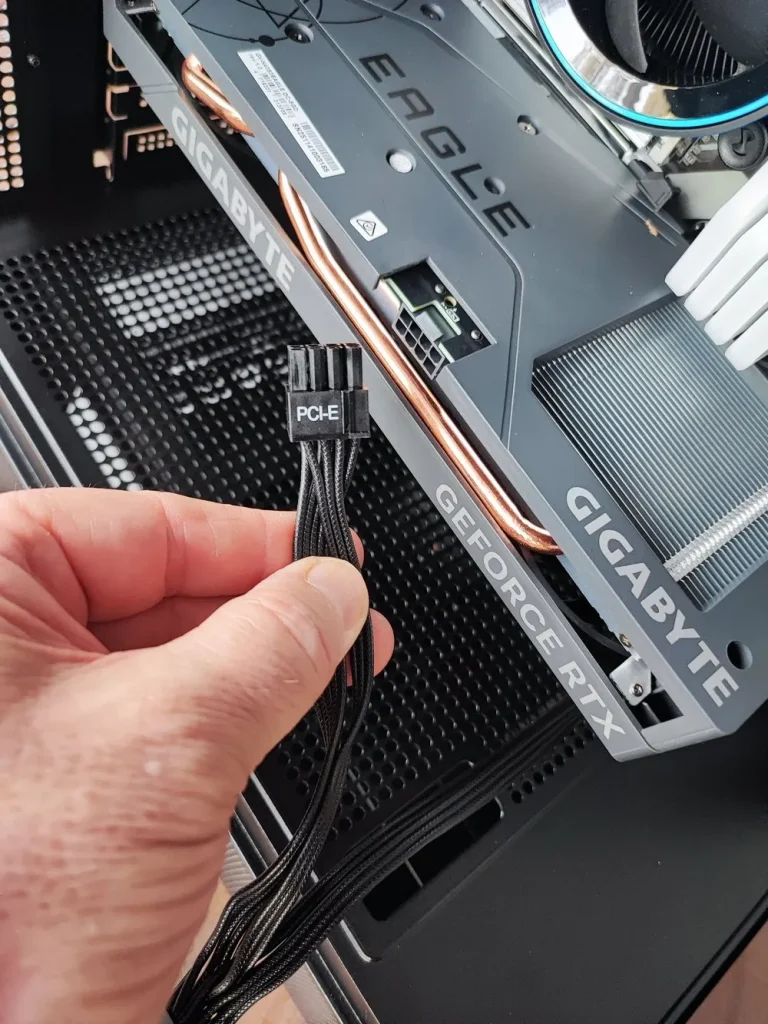
- GPU power (labelled PCI-e)
- Audio header
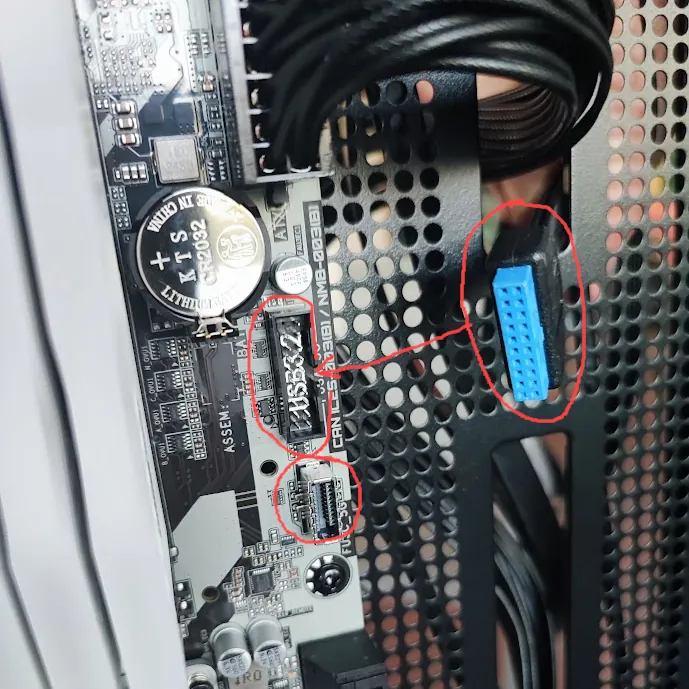
- USB3.2 header
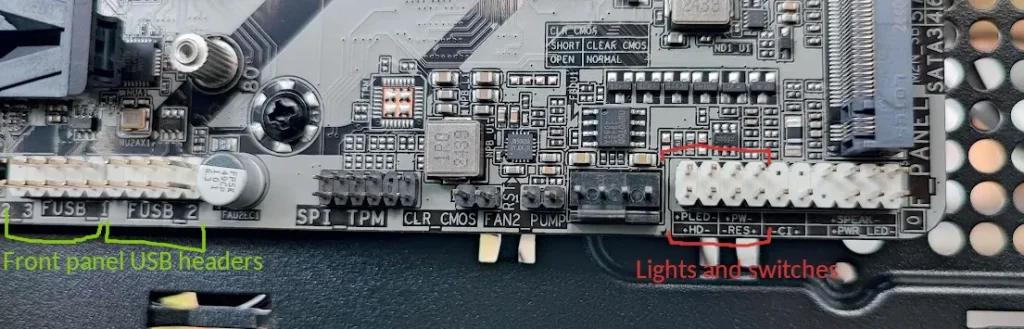
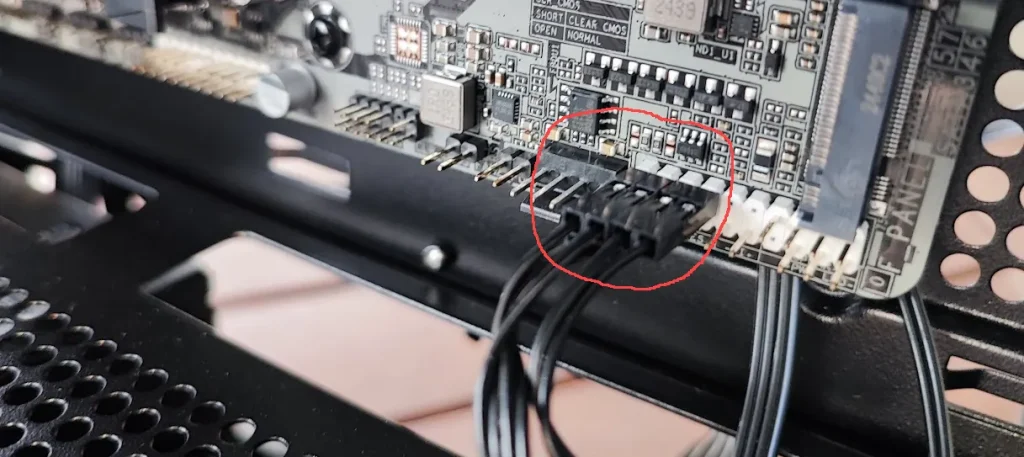
- front panel headers for Power switch, power LED, HD LED, reset

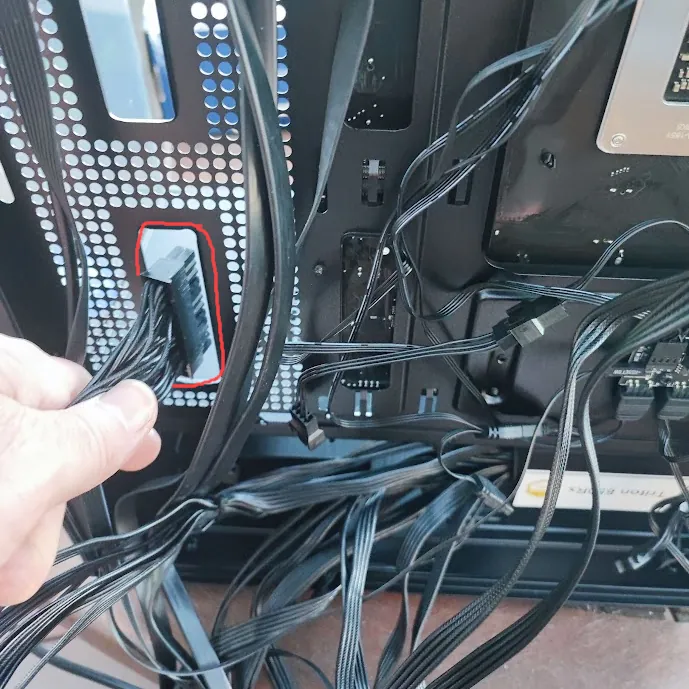
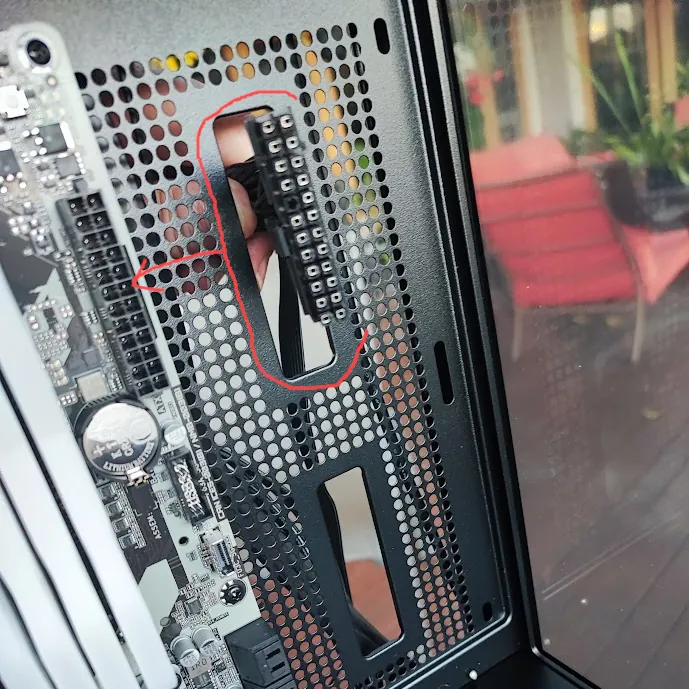
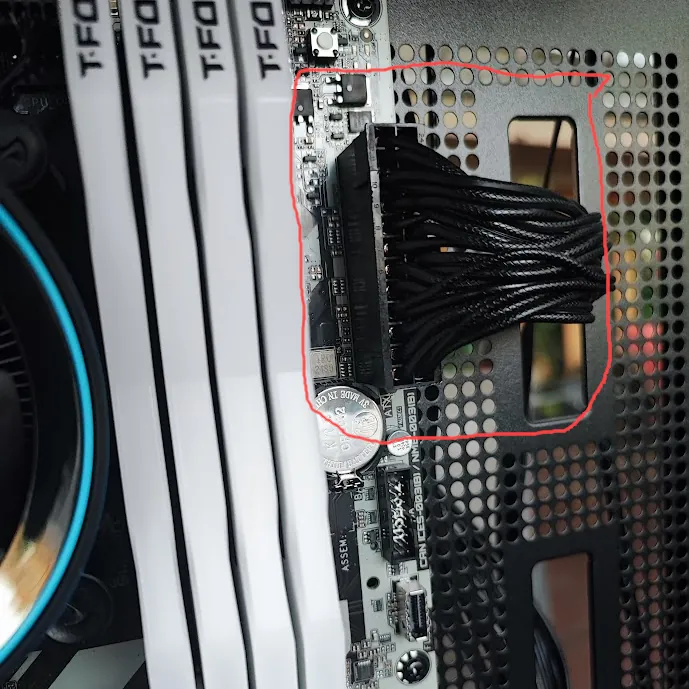
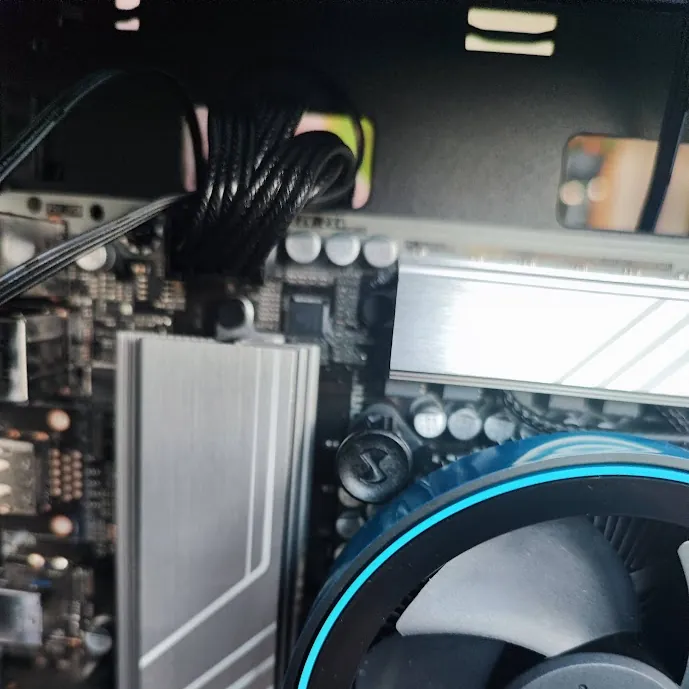
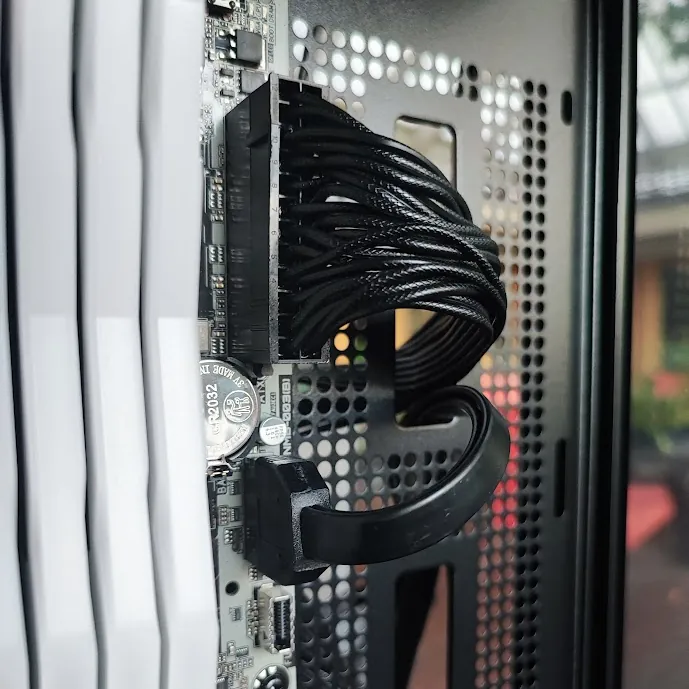
The CPU power goes into the 8 pin slot above the CPU. The goal is to make the cabling as invisible as possible because it looks neater and is better for airflow and cooling. Motherboard main power goes below the RAM. Feed cables through the slots under the motherboard as close to the socket as possible.
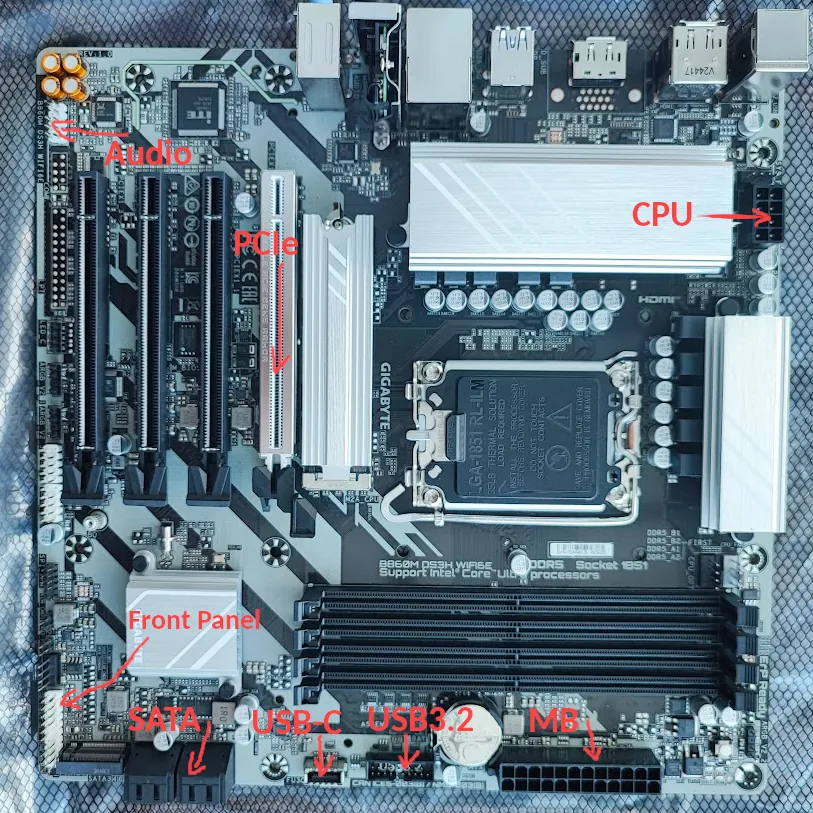
Power the motherboard
Plug in the main motherboard power and the CPU power.
Power the CPU and front USB ports
Similarly, feed in from the back the CPU power, Front USB3.2 and USB-C and Audio plugs, then attach them to the motherboard.
Install and power the SATA drives
This build is getting a super fast 2Tb main SSD (M.2 NVMe) which will hold the Operating System and most programs – it is mounted on the motherboard, as seen above. Most motherboards support a couple of M.2 NVMe SSD’s, but in this build I wanted the second drive to be readily accessible in the event of a disaster.
Here were are using a Samsung 870 EVO 2.5inch SATA SSD with 4Tb capacity. It features sequential read speeds of up to 560MB/s and sequential write speeds of up to 530MB/s. Not as fast as the M.2, but significantly quicker than a HDD at 100MB/s.
The SATA mount for SSD/HDDs will be easy enough to find, even though they try to make them as hidden as possible.


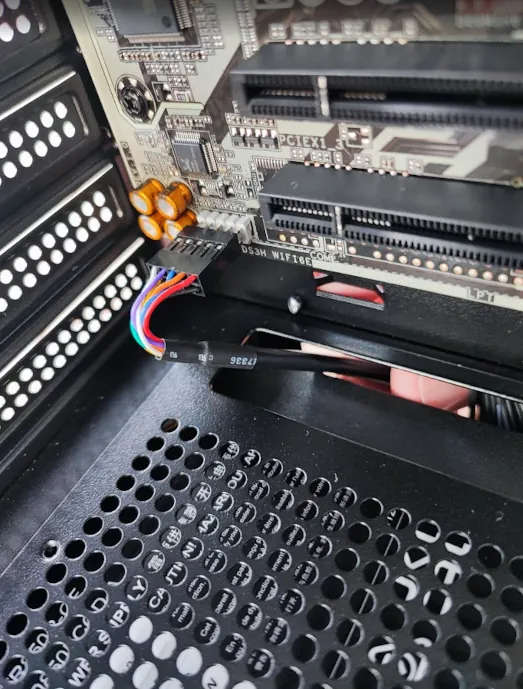
Connect the audio header

Connect front panel lights and switches

Installing a graphics card


Cases with Front Panel USB-C

Tuck in the cables to make everything tidy and close the case
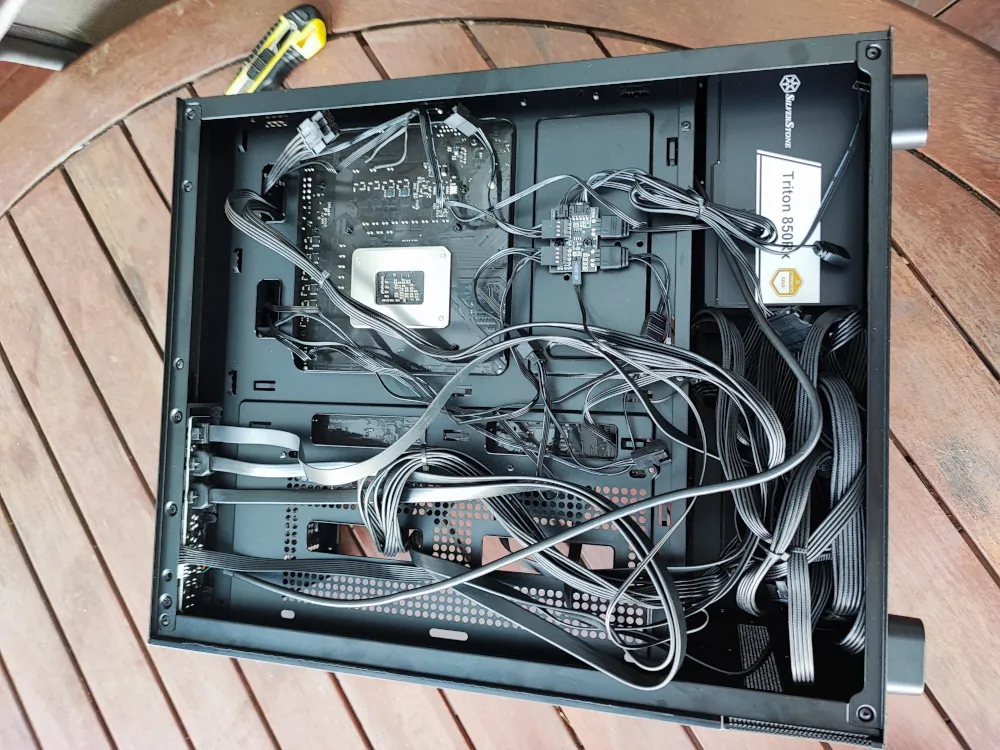
Plug in, turn on and test